Study preparation
Set up an IDI or focus group project
Prepare the discussion guide and project context that xelper uses for transcription and analysis. The exact setup path depends on whether your project uses Self Service or Managed Service.
The following steps apply exclusively to IDIs & focus groups.
In Self Service, Project Setup turns your discussion guide into the structure xelper uses for transcription and analysis. The same five-step setup applies to IDI and focus-group projects.
Before you begin
Have the existing discussion guide ready. You can upload a DOCX, PDF, TXT, or Markdown file.
xelper can usually process an existing guide directly, even when one document contains different versions for specific audiences or segments. You do not need to split or reformat the document first. During Project Setup, you only name up to four variants; xelper extracts and assigns the relevant content automatically.
At the start of Project Setup, you upload the discussion guide, not the recordings. Recordings are added only after setup is complete.
1. Choose the project language
Select English or German as the common language for the project. xelper uses this language for transcript analysis, findings, labels, and reports.
For a multilingual study, choose the language in which you want to analyze and compare the material. Recordings uploaded later can be in another language, but the project itself should use one consistent analysis language.
Choose carefully before finishing setup
The project language cannot be changed after setup.
2. Upload the discussion guide
Drag the guide into the upload area or select it from your computer. Processing starts in the background and prepares three items for review:
- a concise project description
- a transcription glossary
- the discussion-guide structure used for reports
The next step becomes available when the project description is ready. If processing fails, use the available retry control before uploading the guide again.
Choose guide variants
xelper can automatically detect and separate different guide versions in the uploaded document, whether they are represented as distinct sections, audiences, or alternative questions. You only need to define which variants the project should contain: one default guide or between two and four named variants.
For each additional variant, enter a clear name such as “New customers.” A short optional description helps xelper assign the relevant content from the document. xelper then creates an editable guide draft for each variant.
After setup, assign each recording to a guide variant when you upload it. If a recording differs in another small way, you can add recording-specific sectioning instructions during that upload instead of creating another variant.
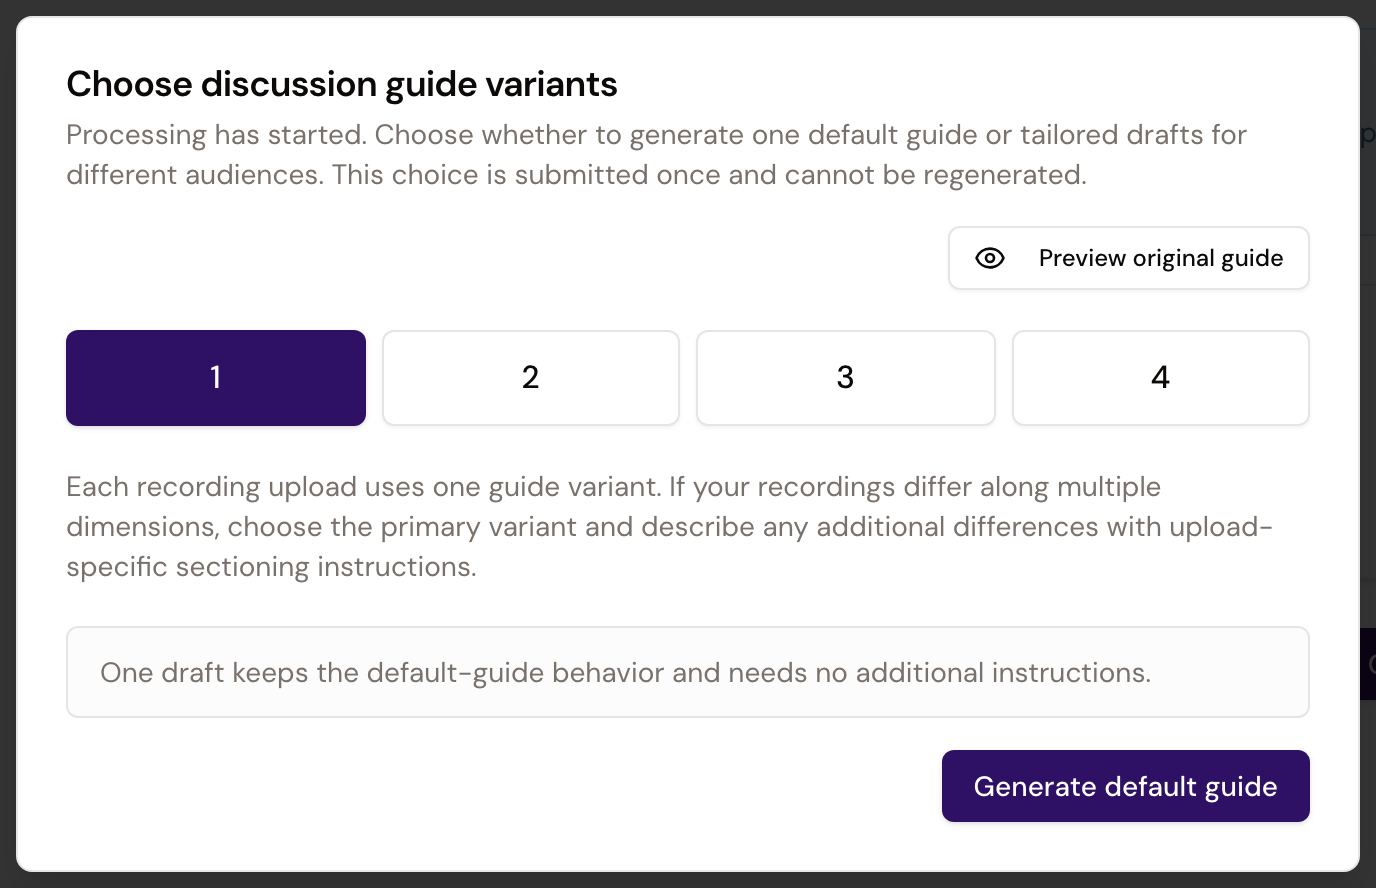
Read Edit discussion guides and variants to learn how to add variants later and which changes remain possible after a guide is first used.
3. Review the project description
xelper drafts a short study description from the uploaded guide. Check that it accurately explains the research context without adding assumptions that are not supported by the guide.
Click the description to edit it. Keep it concise: this text gives generated reports a shared understanding of the study.
4. Review the glossary
The glossary helps the transcription service recognize words that are easy to mishear. Add brand and product names, abbreviations, technical vocabulary, and other study-specific terms.
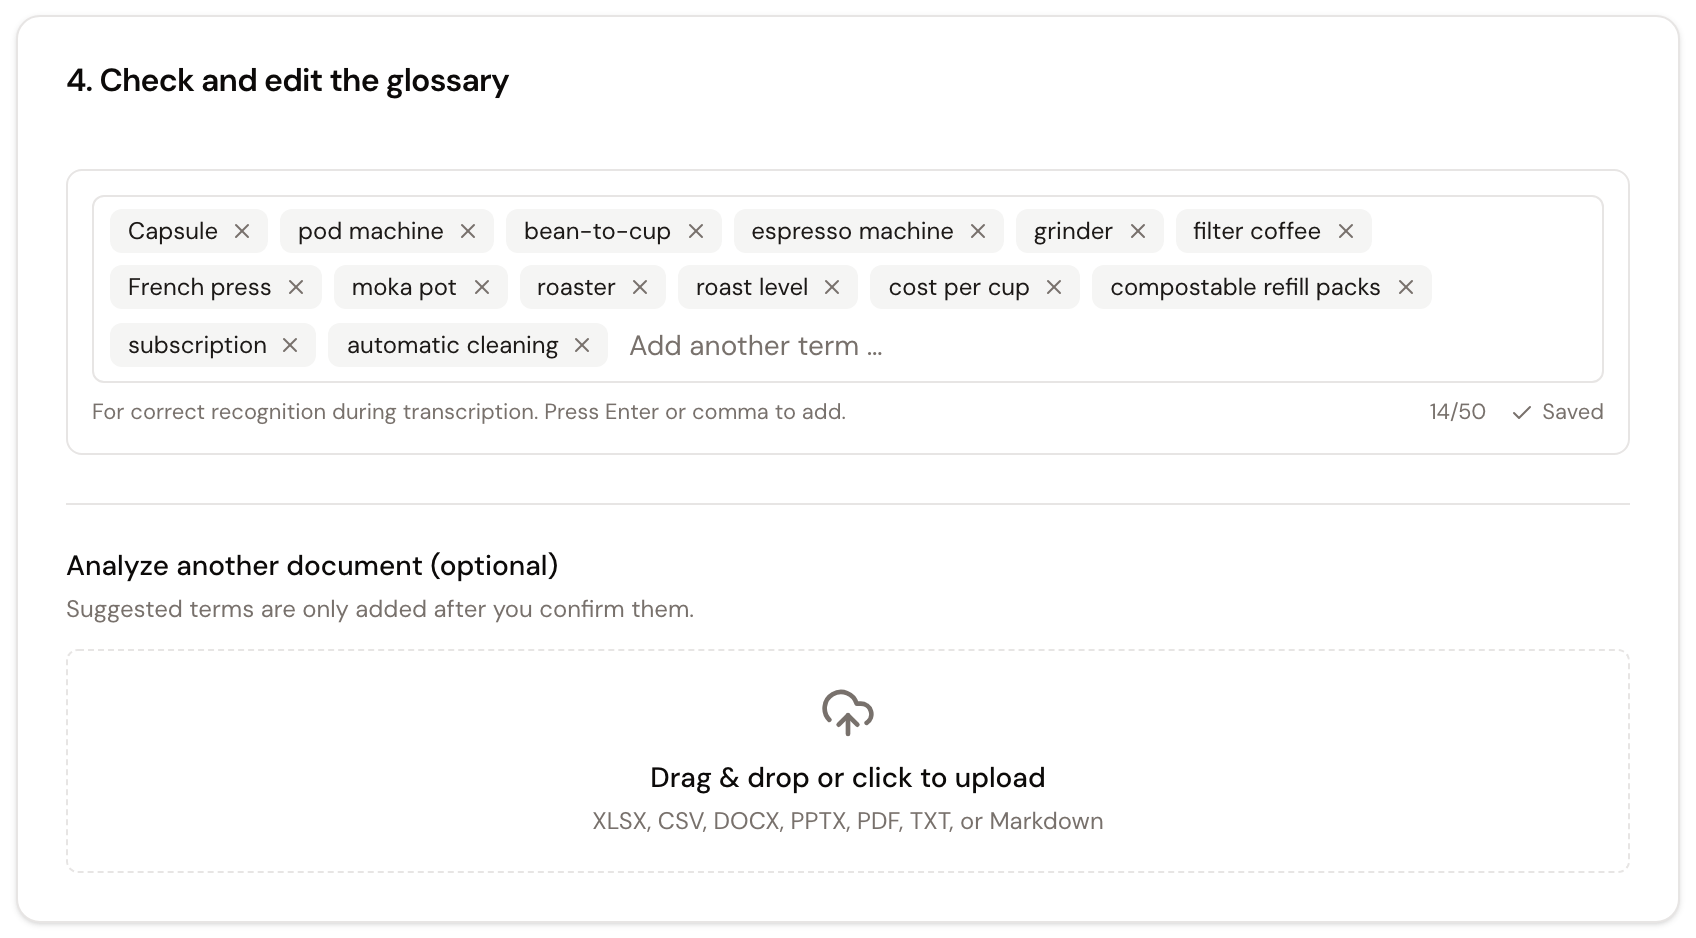
You can also upload another document for glossary suggestions. Supported formats are XLSX, CSV, DOCX, PPTX, PDF, TXT, and Markdown. Review the suggestions before adding them; xelper does not add suggested terms automatically.
When you later upload a recording in a different language from the project, xelper prepares a translated glossary for review as part of that upload.
5. Check the guide structure
Review how xelper has divided each guide into question blocks. Each block becomes the basis for an automatically generated report:
- Keep related questions under one heading when they should be analyzed together.
- Use separate headings for distinct themes.
- Check every guide variant, not only the default version.
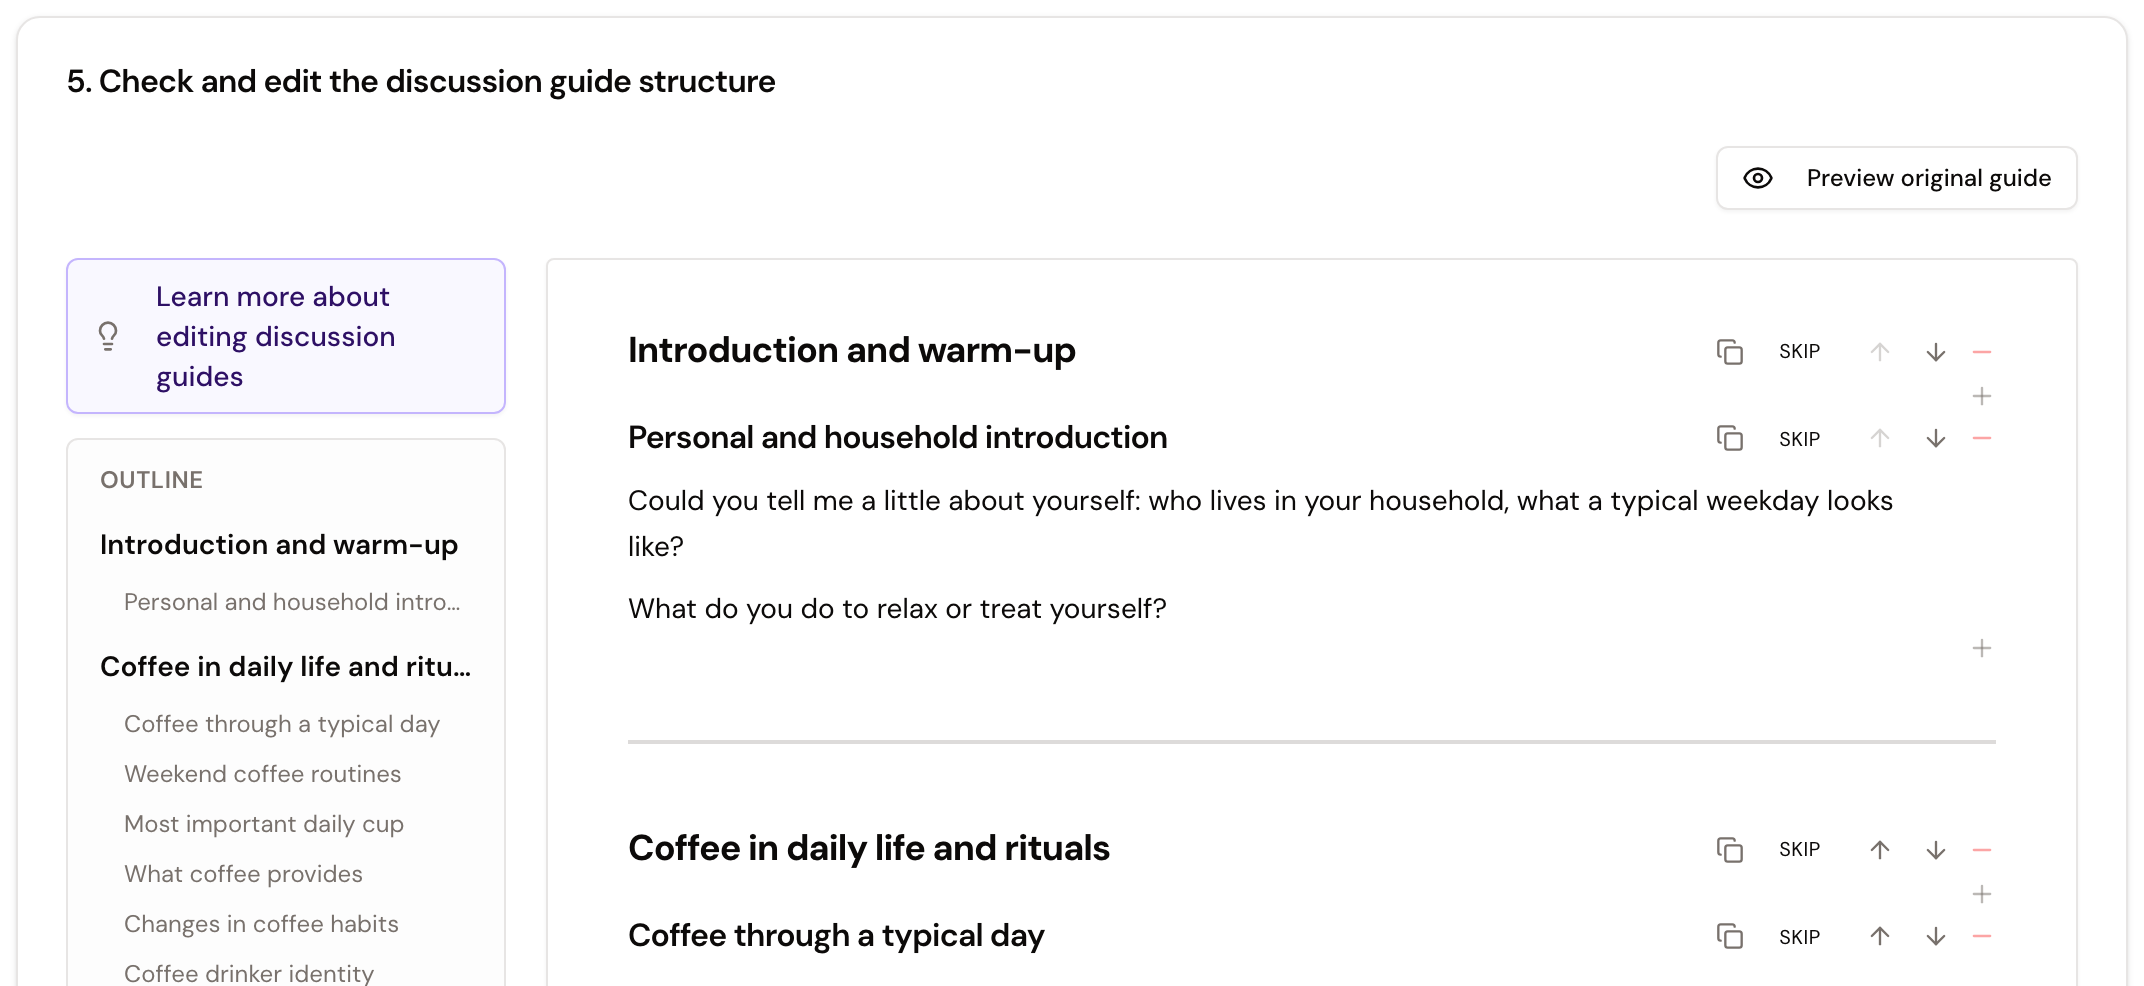
You can add focused or custom analyses later. The structure here provides the foundation for the standard analysis.
When the structure is ready, select Finish setup. You can then import and transcribe recordings.
After setup
You can return to Project Setup to edit the project description or glossary. You can also change a guide variant directly while it is still unused. Once a variant has been used for a recording, it remains locked to protect the existing analysis; create a new guide variant for further substantive changes.
Project Setup is available to Admin and Member; Client cannot use it.
Next step
Import and transcribe the first recordings using the settings for their language, speakers, discussion-guide variant, and sectioning.
Prepare the project in Managed Service
Admin or Member uploads the discussion guide and other relevant material under Files and completes Project Briefing. The required guide variants are usually known at this point. xelper uses the materials to prepare the project description, glossary, guide variants, and discussion-guide structure.
You do not need to use Project Setup or restructure an existing guide first. Upload the source document as it is, including any versions for different audiences or segments, and explain important distinctions in Project Briefing.
Recordings are added only after xelper has completed the project and guide setup. Upload only the recording files under Files; xelper assigns them to the guide variants. Make that assignment identifiable through clear filenames or an additional document. If another guide version is introduced later, upload it under Files and explain who it applies to in Project Briefing.